Zipline Instructions With Installation Tips On How To Build Your Favorite Backyard Zip Line Properly, Know How To Attach The Pulley?

Zipline Instructions On How To Build Your Favorite Zip Line Properly Let's Go Step By Step
Whether you're looking to build a backyard zip line for do-it-yourself style or you're thinking about buying a kit you first need to understand the basics. It may seem daunting at first as there are so many factors; do I have to calculate slope and sag, what are the height requirements, can my home accommodate a backyard zipline kit. We will go into depth from start to finish on how you can safely and reliably come up with a zip line design that will satisfy your family for years to come.
ZIP LINE LOCATION
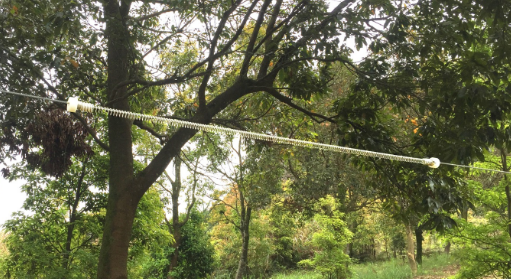
The first thing you need to do when installing a zip line is of course choose a location! Ideally in your backyard or on your property, you’ll need to find two trees that have a direct path towards each other. You might already have a spot in mind, but it is always good to have a couple different options. Check out this article if you want to install a zipline without trees. Measure and track these distances in feet. Most zip line kits go up from 60 to 350 feet, in 60 foot increments, so you’ll need to decide what cable length suits your scenario. Next we’ll talk about all the requirements for a safe install in the next section.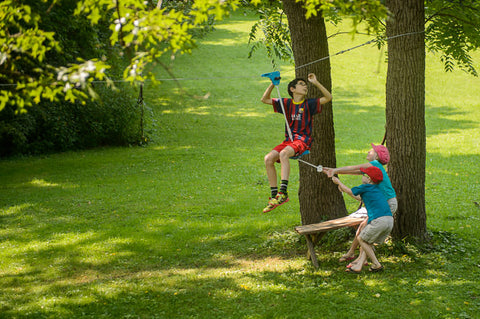
ZIP LINE DESIGN
Anchors
Deciding on an anchor will help you secure the zip line firmly in position. we mentioned in the paragraph above to choose two trees. Seems pretty simple, but there’s more to it. These trees need to withstand a lot of horizontal force. Up to 3,000 pounds to be exact, which is more than a ton.
Let’s first start on what not to do. Do not choose trees that are rotten, old, have cracks or rooted in loose soil or sand. You cannot attach the zip line cable to a branch under any circumstances. Please use common sense or consult an engineer!
A safe zip lining tree has at least a 12-inch diameter around its trunk also make sure the tree is healthy before your zipline installation.
Height Requirements
We recommend a 7ft clearance around the entire zip line, free from branches, rocks, or any other hard obstacle.
Cable Tension and Sag Calculation
Cable Sag is the amount the zipline drops when a rider’s weight is added. The simple formula is (Length of Zipline) x (.02). An example of this is a 100 foot zip line would have 2 feet of sag. You want to take this into consideration as you don’t want your rider’s feet to be dragging as they ride.

Cable Slope
We recommend a 3% slope for zip lines will be only utilizing a stop block. This means there would be a 3 foot drop every 100 feet. If using a bungee braking system, the maximum slope is 6% or 6 foot drop per 100 feet.
Anchor Height

We now have a few inputs. I’ll note them down below with an example of a 100 foot kit.
| Zip line Length | 100 feet |
| Zip line Slope |
3 feet (3% slope)
|
| Zip line Sag | 2 feet |
We now need to find out 3 more inputs. Keep in mind anchor height refers to the height of where your zip line attaches to the tree or anchor.
|
Elevation Change
|
? |
|
Ending Anchor Height
|
? |
|
Starting Anchor Height
|
? |
I've created an easy to use calculator to help you calculate cable slope, sag, starting and ending anchor height.
| CABLE SLOPE & SAG CALCULATOR | |
| Length (Distance between start and end anchors) |
ft
|
| Slope | |
| Zip Line Slope |
3 ft
|
| Zip Line Sag |
2 ft
|
| Calculate Elevation Change | |
| End Level Mark |
ft
|
| Start Sight Height |
ft
|
| Elevation Change |
0 ft
|
| Ending Anchor Point Height |
9 ft
|
| Starting Anchor Point Height |
12 ft
|
Elevation Change is easy if you are on flat land, it’s 0 feet! If you are on a slope or hill you may have to use a sight level to find the elevation change between the ground level of the starting anchor and the ground level of the end anchor.
Ending Anchor Height = (Zip line Sag) + 7 feet
Starting Anchor Height = (Zip line Slope) + (Ending Anchor Height) - (Elevation Change)
Did I lose you yet? Let’s bring it back all together with our example.
|
Zip line Length
|
100 feet
|
|
Zip line Slope
|
3 feet (3% slope)
|
|
Zip line Sag
|
2 feet
|
|
Elevation Change
|
0 feet
|
|
Ending Anchor Height
|
9 feet
|
|
Starting Anchor Height
|
12 feet
|
ZIP LINE PARTS
Cables
We highly recommend using Galvanized Aircraft Cable for zip lining. It is durable and flexible and you can find out more about all the cables here. Our regular sling cable is 7ft in length attaching to the turnbuckle, and main cable lengths are reference to customers' requirements between trees. CUSTOMIZATION service on CABLES are acceptable which is a special feature for CTSC branded ziplines.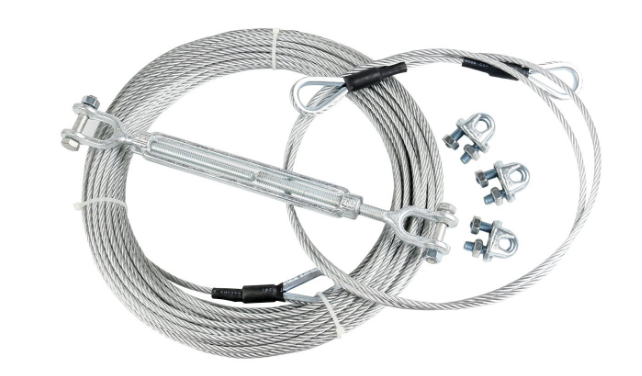
Cable Clamps
Cable clamps or U-Bolts are used to secure dead ends of cable. We recommend 15 ft. lbs of torque and 3 cable clamps, 1-2 inches apart. Our regular package are including 3 U clamps to fasten cables.
Tree Protectors
Save Nature, Save Future! Eco-friendly Tree Protectors are a must for your backyard adventure.

Turnbuckles (remember the wider opening for cable sling)
A turnbuckle is a device for adjusting the tension or length of zip line cables. It is used to make adjustments to how much slack your cable has. CTSC turnbuckle is UNIQUE in the market with one end opening WIDER specially made for easier installation onto cable sling, other makers and sellers are not doing the same.
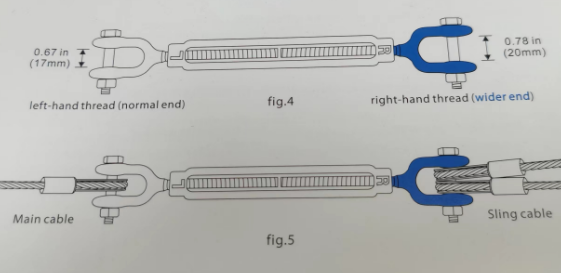
Cable Sling
Cable Slings are designed to wrap around your anchor whether it be a tree or a pole. The two loops connect to the turnbuckle. the existing sling cable is sized at 7ft in length which can fit most trees, if you want a customization on the sling cable as well please contact us before placing an order with us so we can provide a personalized zipline for you.
Thimble
Thimbles help maintain the durability of a cable by preventing crimping. They should used in any sharp turns on a cable. In most cases you’ll use it near the cable clamps when the cable has to loop back around. Remember to check tightness on Thimbles / U clamps frequently during the time of use and fix them tightly to ensure a safe riding.
INSTALLING THE ZIP LINE
First we need to start at your starting anchor. Depending on what kind of zip line kit you have, the instructions may be a little different. Typically on the starting anchor you need to wrap the cable slings around your anchor to attach to a turnbuckle. The zip line cable will attach to the empty end of the turnbuckle and will wrap around the ending anchor, secured with cable clamps.
The starting and ending anchor instructions might be vice versa depending on your kit’s instructions and there might be two turnbuckles (one on each end for further tensioning), in most cases one turnbuckle is ok for final sag tighten.
Next we will talk about the zip line equipment!
ZIP LINE EQUIPMENT
With zip line accessories there will be cases where certain components have to have the cable fed through them, as opposed to being added on after the cable is set up. Be sure to check your individual parts during the time of use!
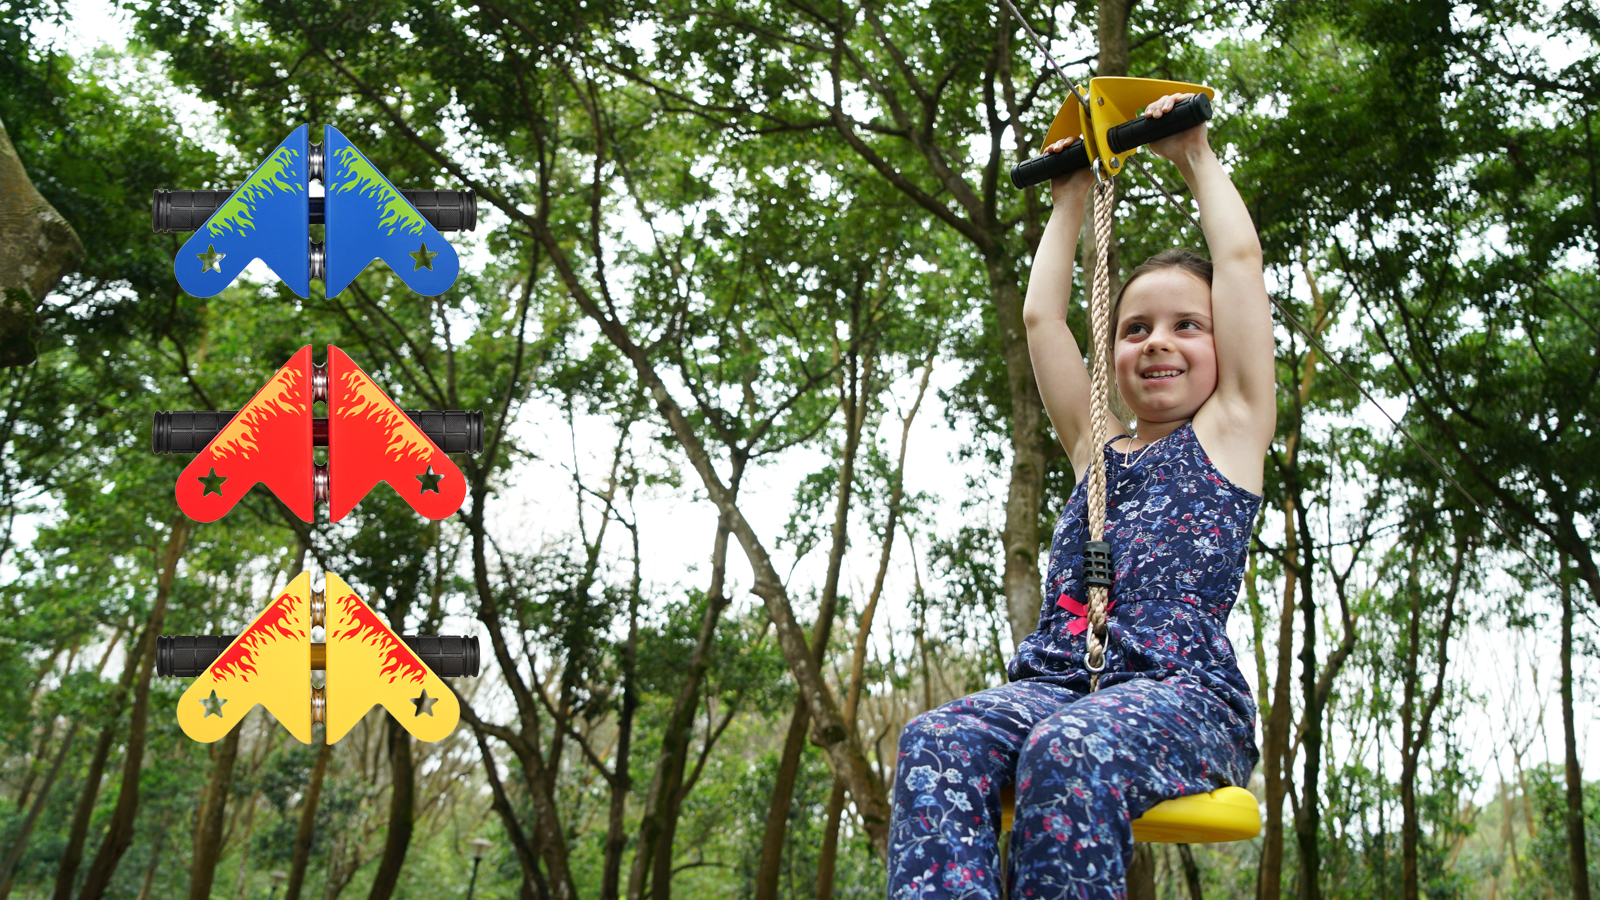
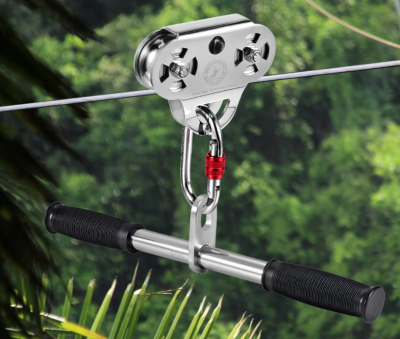
There are trolleys where the end of the cable has to be fed through the trolley. There are others that are completely detachable. Please check out choosing a sturdy zipline trolley for more.
CTSC provides a wide of range of TROLLEY options for people across the world, kids and parents are loving them and have a pleasure as always. We welcome your smart ideas on developing new trolley pulleys for your market demands, whatever individual use or bulk purchase! the aim is to get a PERSONAL ZIPLINE for you with your thoughtable and smart ideas.

Braking Systems
Being able to stop a zip line is a big concern for some! It’s a top priority for us too. There are a variety of braking systems that you can choose from. We do recommend having a SPRING brake to bring more fun for kids being safe - bounce back and forth at the end point to enjoy, just keep holding the trolley handle during the whole riding course. In most cases, a spring stop is acceptable by buyers for its' long life expectancy and easy installation! Or you can get creative. Nowdays bungee brake has less time of use because people may think it will add more installing time or else. Our standard package include a SPRING BRAKE at a length of 5.9ft.
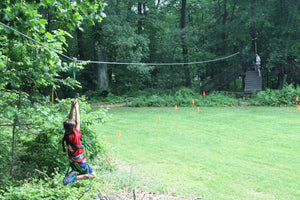
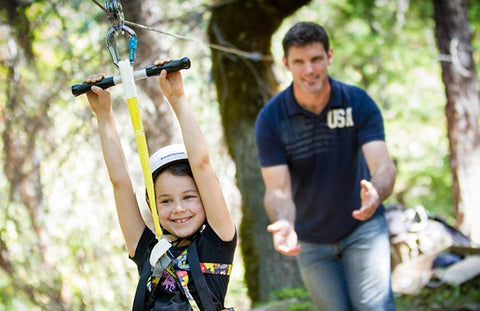
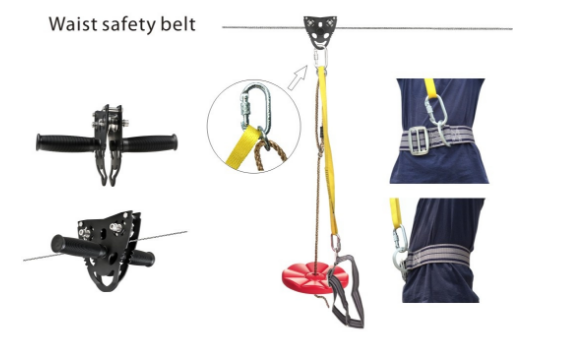
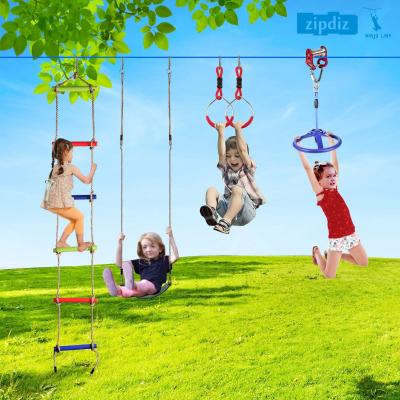
Seats/Harnesses
In our opinion, this is the place where there is the most variation. Do you want a swing seat, disc seat, or harness? Do you have small kids and want to secure them? The installation is really simple as all of these attachments are secured using a carabiner attached to the trolley. We explore several options for you in our other blog post. Our experiences told us nowdays that disc seats are more simple with excited kids who can be on and off quickly, of course for longer length zipline people prefer to choose HARNESS and HELMET for safety concern, so HEAVY DUTY ziplines are the key to it. For smaller kids parents sometimes prefer to choose Safety Belt plus a Disc Seat for double safe.
CONCLUSION
As a final note, once everything is installed, do a safety test and inspection. Use a test weight (bucket of water, weights, etc) to see if the braking mechanism, trolley and cable are acting as intended. Be sure to make sure the anchors are secure. One test is to sharpie where the cable clamps are before the test and see if they shifted during the test ride. If they shifted, it needs to be tightened.
If the cable shows signs of fraying, retire it immediately. Check the trolley for excessive friction or roughness. Make sure all carabiners are secured. Instruct your riders all of the dos and don’t before riding.
Above all else, have fun zipping! enjoy your BACKYARD ADVENTURE with these lovely zipline kits, kids and parents, family and friends will have a blast all together in this summer or whatever time you love to enjoy.
Here is a lovely video on CTSC backyard zipline installation, take it for reference.
Factory direct & Quality oriented.
Related Posts
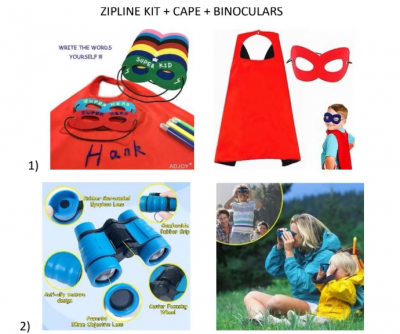
iZipline Creates Extra Fun And Extra Value For Zipline Lovers! Weeeee ...
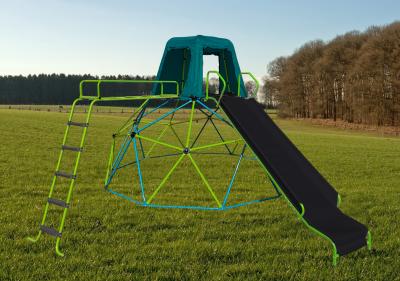
Definitely these COOL designed Climbing Dome Extensions can CREATE great fun for kids

Heavy Duty Zip Line Kits Are Awesome For Both Kids And Parents
How To Choose A Favorite Zipline Trolley Pulley That Fits You Best